- /
June 9, 2026
Simple DIY Home Repairs That Save You Money: 7 Fixes You Can Do This Month
Most homeowners call a professional when something breaks. That’s often the right call — but not always. A significant portion of everyday home maintenance falls into a category where the labor cost dwarfs the actual difficulty of the job. A plumber charging $175 per hour to replace a $12 faucet washer is a real scenario, and it plays out millions of times a year.
This article covers seven specific repairs and maintenance tasks you can complete this month with basic tools, under $100, and in an afternoon or less. Each section includes realistic cost comparisons, step-by-step direction, and clear guidance on when to stop and call a pro.
1. Why DIY Home Repairs Actually Matter to Your Budget
Professional contractors, plumbers, and electricians typically charge $100–$250 per hour for labor. A job that takes a professional 30 minutes — and uses $20 in parts — can run $200–$300 once you factor in service fees and minimum call-out charges. That same job, done yourself, takes 45–60 minutes and costs the price of the part.
A commonly cited rule of thumb for homeowners is to budget 1–3% of your home’s value annually for maintenance and repairs. On a $300,000 home, that’s $3,000–$9,000 per year. Handling routine repairs yourself can cover 30–50% of that budget — which translates to real, measurable savings over time.
Beyond direct repair costs, preventative maintenance is where DIY pays the biggest dividend. A $15 tube of caulk applied before winter prevents a $2,000 water-intrusion repair in spring. A $30 dryer vent brush kit used once a year reduces the risk of a dryer fire that causes tens of thousands in damage.
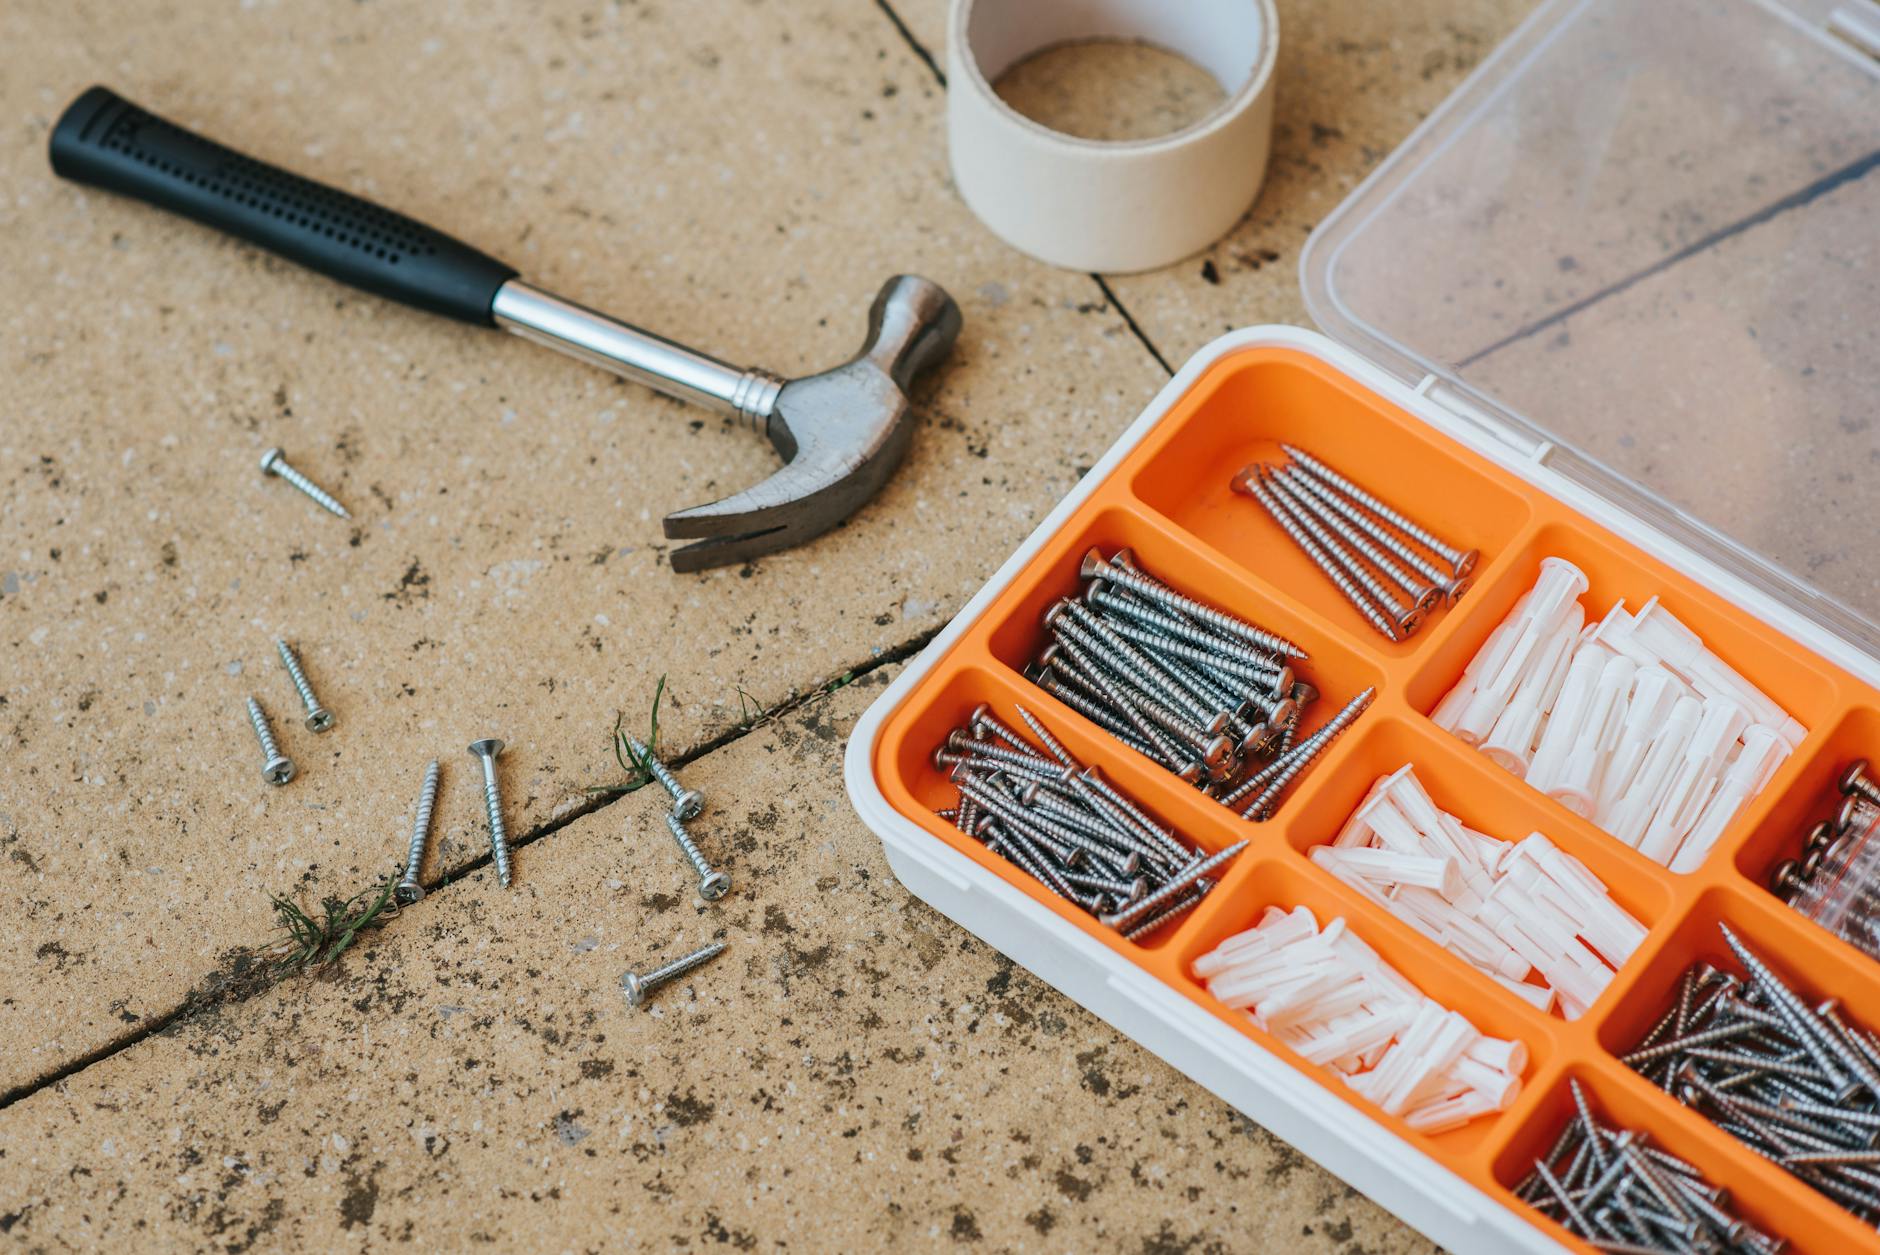
What Tools Do You Actually Need?
Most of the repairs in this article require nothing beyond what a basic household toolkit already contains:
- Flathead and Phillips screwdrivers (or an interchangeable set)
- Adjustable wrench and pliers
- Claw hammer
- Tape measure
- Utility knife
- Caulk gun ($8–$15 if you don’t own one)
A few repairs call for a shop vacuum or a flexible brush kit, both of which are inexpensive and useful for multiple tasks. If a job requires specialized equipment you’d only use once, check whether your local hardware store or tool library rents it before buying.
2. Seal Air Leaks to Cut Heating and Cooling Costs
Air leaks around windows and doors are one of the most significant — and most overlooked — sources of energy waste in a typical home. Gaps and cracks in frames and weatherstripping let conditioned air escape while pulling outdoor air in, forcing your HVAC system to work harder year-round. Caulk and weatherstripping are the two cheapest ways to address that loss, and together they cost less than $40 in materials.
Expected Savings
Estimates vary by home size and existing condition, but sealing air leaks can meaningfully reduce your heating and cooling costs — with some estimates suggesting savings of $120–$240 per year on utility bills. The materials typically pay for themselves within a single heating season.
How to Caulk Windows and Door Frames
- Inspect the exterior and interior edges of every window and door frame. Look for dried, cracked, or missing caulk — gaps as small as 1/8 inch matter.
- Use a utility knife or caulk remover tool to scrape out all old, damaged caulk. The new bead won’t adhere over degraded material.
- Clean the surface with a damp cloth and let it dry fully.
- Load a tube of silicone or acrylic-latex caulk into a caulk gun. Cut the tip at a 45-degree angle for a controlled bead.
- Apply one smooth, continuous bead along the gap. Use a wet finger or a caulk-smoothing tool to press it into the joint and remove excess.
- Allow to cure per the manufacturer’s instructions (typically 24 hours) before exposing to rain or temperature extremes.
Material cost: $8–$15 per tube of caulk. One tube typically handles 4–6 windows.
Recaulk every: 5 years, or whenever you see visible cracking.
Adding Weatherstripping to Doors
Slide a piece of paper under a closed exterior door. If it moves freely, cold air is getting in. Adhesive-backed foam tape weatherstripping ($10–$20 per door) solves this in under 15 minutes: peel the backing, press it firmly around the door frame, and trim to fit with scissors. For the door bottom, a door sweep ($15–$25) installs with two screws and blocks drafts at floor level.
Weatherstripping typically lasts 2–3 years before compressing enough to lose effectiveness. Check it each season and replace it when drafts return.
3. Fix Leaky Faucets and Install Low-Flow Fixtures
A single dripping faucet wastes approximately 3,000 gallons of water per year, according to the EPA. At average U.S. water rates, that’s $15–$35 per year from one faucet — but the real cost driver is when that drip comes from a hot-water line running through your water heater. Multiply by two or three dripping fixtures and you have a meaningful monthly line item.
Professional faucet repair runs $150–$300 in labor. The parts cost $8–$15.
How to Replace a Faucet Washer or Cartridge
- Turn off the water supply valves under the sink (clockwise to close). Turn on the faucet to release pressure.
- Remove the decorative cap on the handle (usually pried off with a flathead screwdriver) to reveal the handle screw. Remove the screw and pull off the handle.
- For a compression faucet: remove the packing nut with an adjustable wrench, pull out the stem, and replace the worn rubber washer at the bottom. Reassemble in reverse order.
- For a cartridge faucet: pull out the cartridge (note the orientation before removing), take it to a hardware store to match the replacement, insert the new one in the same orientation, and reassemble.
- Turn the water supply back on slowly and test for leaks.
Install a Low-Flow Aerator
Aerators screw onto the faucet tip and reduce water flow by mixing air into the stream. A standard faucet flows at 2.2 gallons per minute; a low-flow aerator drops that to 1.5 gpm or less without a noticeable drop in pressure. Cost: $5–$10 per aerator, installed in two minutes with pliers and a cloth to protect the finish. This reduces water use by 25–30% at each fixture.
Replace Leaky Supply Lines
The flexible hoses connecting shut-off valves to faucets and toilets degrade over time. If you see mineral buildup, discoloration, or any moisture around the connections, replace them. New braided stainless supply lines cost $10–$20 each and install in about 20 minutes: turn off the supply valve, disconnect the old hose with an adjustable wrench (have a towel ready), thread on the new hose hand-tight plus a quarter turn, and restore the water supply.
When to call a plumber instead: Water is coming from inside walls, pipes have burst, or you’re not sure which valves control which lines.
4. Clean Your Dryer Vent — A Safety and Efficiency Issue
The U.S. Fire Administration reports approximately 2,900 residential dryer fires annually, with lint accumulation in the vent duct identified as the leading cause. Beyond the fire risk, a clogged vent forces your dryer to run longer cycles — reducing its efficiency by 10–25% and pushing up your electric or gas bill in the process.
Professional vent cleaning typically runs around $100–$150. The DIY version takes 30–45 minutes and costs $20–$35 for a brush kit you’ll reuse every year.
How to Clean the Dryer Vent
- Pull the dryer away from the wall and disconnect the flexible duct from the back of the unit.
- Use a shop vacuum to clear lint from the dryer’s exhaust port and the disconnected end of the duct hose.
- Insert the flexible vent cleaning brush ($20–$35 at any hardware store) into the wall duct and work it through to the exterior, rotating as you go.
- Go outside and locate the exterior vent flap. Remove any lint, debris, or bird nesting material blocking the flap from opening fully.
- Reconnect the duct to the dryer and push the unit back into place.
Do this annually, or more often if you run multiple loads daily. Warning signs of a clogged vent: clothes taking two or more cycles to dry, the dryer housing feeling unusually hot to the touch, or a burning smell during operation. Don’t ignore those signals.
5. Repaint Cabinets, Vanities, and Floor Tile for Under $100
Professional cabinet repainting for a standard kitchen ranges from $2,000–$5,000. The materials alone — primer, paint, and brushes — cost $100–$200. The gap is entirely labor. This is a weekend project with a significant visual payoff, and painted cabinets are indistinguishable from professionally refinished ones when the prep work is done correctly.
How to Paint Kitchen Cabinets
- Remove all cabinet doors and hardware. Label each door with painter’s tape so you know exactly where it goes back.
- Degrease every surface with a TSP substitute cleaner. Grease is the primary reason cabinet paint fails prematurely.
- Sand lightly with 120-grit sandpaper to create adhesion for the primer. Wipe clean with a tack cloth.
- Apply one coat of bonding primer and let it dry fully (typically 2–4 hours).
- Apply two coats of cabinet-grade paint (alkyd or water-based acrylic enamel), sanding lightly between coats with 220-grit sandpaper.
- Allow 3–4 days of cure time before reattaching doors and restocking shelves.
Tile Paint: A $30–$50 Temporary Fix for Outdated Flooring
Bathroom and basement floor tile can be refreshed with specialty floor-and-tile paint — no removal or replacement required. Clean the surface thoroughly, etch with a tile etching solution (follow the product’s safety instructions carefully), prime, and apply two coats of floor-rated paint.
Set realistic expectations before you start: painted floor tile typically lasts 1–3 years, and can wear through faster in high-traffic or frequently wet areas — sometimes as little as 6–12 months. This is a temporary cosmetic fix, not a permanent replacement. At $30–$50 in materials, however, it’s a cost-effective way to refresh a room’s appearance while you save toward full tile replacement.
6. Replace Caulk and Grout to Prevent Water Damage
Cracked or missing caulk around your tub, shower, and bathroom sink is not a cosmetic issue — it’s a water intrusion problem. Moisture that gets behind tile and into wall cavities causes mold growth, wood rot, and eventually structural damage. A $10 tube of caulk can prevent a $5,000–$15,000 mold remediation job.
How to Recaulk a Tub or Shower
- Use a utility knife and a caulk removal tool to cut out all old caulk along the tub-wall joint and in the corners. New caulk will not bond over old material.
- Spray the area with a diluted bleach solution (1 part bleach, 10 parts water) to kill any mold in the joint. Let it sit for 10 minutes.
- Dry the surface completely. Use a fan or wait several hours — caulk applied to a damp surface will peel within weeks.
- Apply a continuous bead of 100% silicone or siliconized latex caulk. Smooth with a wet finger and remove excess with a damp cloth.
- Do not use the shower for 24 hours.
Material cost: $10–$25 for a tube of waterproof caulk.
Time: 30–60 minutes per area.
Inspect every 6 months, especially after heavy water use or winter temperature swings.
Regrouting Tile
If grout is crumbling or stained beyond what bleach can clean, regrout. Professional regrouting costs can vary significantly depending on your market and the scope of the job — getting a local quote will give you the most accurate comparison. The DIY route runs $50–$100 in materials: a grout saw ($10–$15), new grout ($15–$30), and a grout float ($8). Remove old grout with the saw, apply new grout with the float, wipe the surface clean with a damp sponge, and seal once fully cured.
7. Clean Gutters, Downspouts, and Refrigerator Coils
These three tasks are unglamorous, frequently postponed, and each one can prevent repairs that run into the thousands of dollars. Add them to a seasonal maintenance checklist and do them on schedule.
Gutters and Downspouts
Clogged gutters redirect water over the roofline toward your foundation. Over time, this causes soil erosion, water intrusion into basements and crawl spaces, and foundation cracks — repairs that can exceed $3,000–$15,000 or more. Professional gutter cleaning costs vary by region and home size; get a local quote if you want a benchmark for your area. Doing it yourself requires a ladder, work gloves, and a garden hose. It’s free.
Clean gutters at least twice a year: once in late fall after leaves finish dropping, and once in spring. After any major storm, confirm that downspouts are still attached and directing water at least 4–6 feet from the foundation. If a downspout has come loose, reattach it with gutter screws (about $3 at any hardware store).
Refrigerator Coils
Condenser coils on the bottom or back of your refrigerator dissipate heat from the cooling cycle. When coated in dust and pet hair, the compressor works harder to maintain temperature — driving up electricity use and shortening its lifespan. Compressor failure is one of the costlier appliance repairs a homeowner can face, often running several hundred dollars or more depending on the model and labor rates in your area. Cleaning the coils takes 10 minutes with a vacuum and a coil brush ($10).
Unplug the refrigerator, pull it away from the wall or remove the front kick panel, vacuum the coils, and use the coil brush to loosen packed-in debris. Repeat this 2–3 times per year, or quarterly if you have shedding pets. Plug back in and push the refrigerator back into place.
HVAC Filters
A clogged HVAC filter reduces system efficiency by 15–20%, raises your energy bill, and strains the blower motor. Replacement schedules by filter size:
- 1-inch filters: Replace monthly. Cost: $5–$8 each.
- 2-inch filters: Replace every 2 months. Cost: $8–$12 each.
- 4–5-inch filters: Replace every 6–12 months. Cost: $20–$40 each.
Write the installation date on the filter with a marker when you put it in. Set a phone reminder. This is the single simplest task on this list and one of the most consistently skipped.
8. Know What NOT to DIY
Every experienced DIYer has a list of jobs they hand off to licensed professionals. The decision isn’t about confidence — it’s about risk, liability, and code compliance.
Do Not DIY These Projects
- Electrical work beyond outlets and switch covers: Panel work, new circuits, and wiring changes require permits and licensed electricians in most jurisdictions.
- Gas line work: Any connection or repair involving gas lines is a licensed-only job. No exceptions.
- Structural repairs: Load-bearing walls, foundation cracks, and roof structural damage require engineering assessment before any work begins.
- Main sewer lines: Camera inspection and hydro-jetting are professional jobs. DIY attempts frequently worsen blockages.
- Active mold or water intrusion inside walls: Stop immediately and call a remediation company. DIY removal spreads spores to unaffected areas.
Practical Rules Before Starting Any Project
- Start on a weekday, not a Friday evening. If something goes wrong mid-project, you can reach professionals at standard rates — not emergency weekend rates.
- Check your city’s permit requirements before starting any kitchen, bathroom, or structural project. Unpermitted work can complicate home sales and void insurance claims.
- A $50 DIY mistake corrected by a professional can cost $500 or more. Honestly assess your skill level before you start — not halfway through.
- YouTube is a legitimate resource. Search specifically for your faucet brand, caulk type, or dryer model before beginning — someone has likely filmed the exact repair you’re attempting.
Where to Start This Month
If you’re looking for the highest return on your first weekend of DIY work, here is the priority order based on ease of completion and cost impact:
- Replace the HVAC filter — 5 minutes, $5–$8, immediate efficiency gain.
- Add weatherstripping to exterior doors — 15 minutes per door, $10–$20, reduces heating and cooling loss.
- Fix a dripping faucet — 30–45 minutes, $8–$15 in parts, stops 3,000+ gallons of waste per year.
- Recaulk the tub and shower — 45 minutes, $10–$25, prevents water damage behind walls.
- Clean the dryer vent — 30–45 minutes, $20–$35 for a reusable brush kit, reduces fire risk and energy use.
- Clean refrigerator coils — 10 minutes, $10 for a coil brush, extends the compressor’s working life.
- Inspect and recaulk windows — 1–2 hours for the whole house, $15–$30 in materials, reduces drafts before the next heating season.
None of these require advanced skills, permits, or specialized knowledge. Taken together, they can save $500–$1,500 over the next 12 months while preventing the kind of deferred-maintenance failures that turn small problems into five-figure emergencies. Pick one task and start this weekend.
